|
Creating Templates in Easy Street Draw (ESD)
|
If you find that you end up drawing the same intersection for many of
your crash reports, you can do the following to save the road diagrams before
adding objects specific to a crash such as vehicles, pedestrians, etc.:
-
Launch ESD either from a crash form or by going to
Start > All Programs >
Easy Street Draw
- Draw the intersection/roads needed
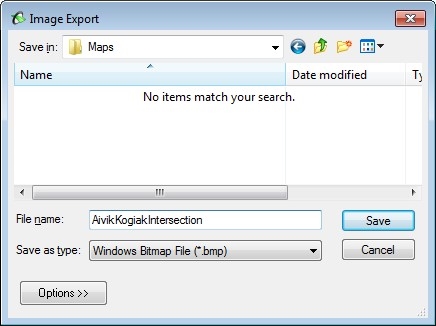
- Go to File, up at the top, and then select Export…
-
Browse to a location on your computer where you would like to save
this diagrams (Suggestion: You could create a new folder called Diagrams
in the C:\ProgramData\TraCS folder)
-
Give the diagram a meaningful name such as AivikKogiakIntersection:

- Click on the Save button to save the diagram
-
Next time you have to fill out a crash report at the same intersection/location
click on the ESD Diagram option within the crash form
-
Click on the Open button

- Click the Launch button to launch Easy Street Draw
- Click on File up at the top
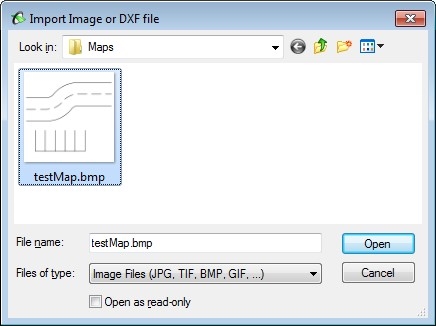
- Select Import …
- Browse to the folder where you saved your previously created diagrams
-
Select the diagram you need by either double clicking on the image
itself, or by clicking once on the diagram and the clicking on the Open
button:

-
Make the changes necessary (e.g. add vehicles involved, pedestrians,
etc.) as you normally would on a new diagram
-
Close Easy Street Draw to embed the updated diagram into your new
crash form
If you have a previous diagram that contains vehicles/pedestrians etc.
that you would like to reuse but remove the vehicles/pedestrians etc. then:
- Open the crash report containing the diagram
- Put it in Edit mode by clicking on the Edit Form button
-
Go to the Diagram field; the ESD Diagram will auto-select since
the diagram was already created in ESD
- Click on the Open button
- Click on the Launch button
-
If you need to get rid of an object such as a vehicle, then select
one of the shapes from the left-hand side such as the oval tool, which
is the 9th one on the list below:

-
Then drag the oval shape on top of the vehicles/objects that you need to remove
-
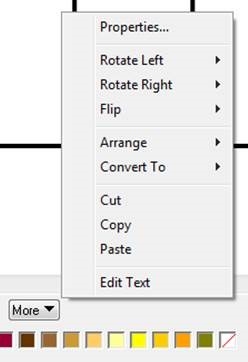
If the oval/shape has a border then click on the More button on
the bottom:

-
Click on Properties...

-
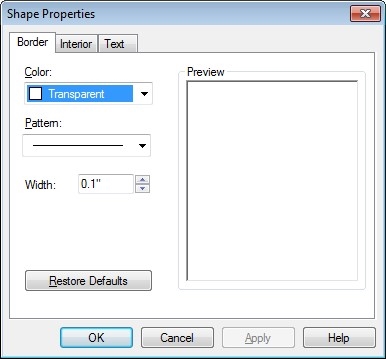
Select Transparent for the Border Color and click the
OK button:

-
Do the same for all objects that need to be removed from your previously
created diagram until you have the base diagram you need
-
Save the blank (intersection/roads only) diagram for future
use if desired.
You can also share the diagrams created with others in your agency so
they can use them as well, by copying the saved .bmp files from your computer
into theirs.
|
|


